Heya Pards,
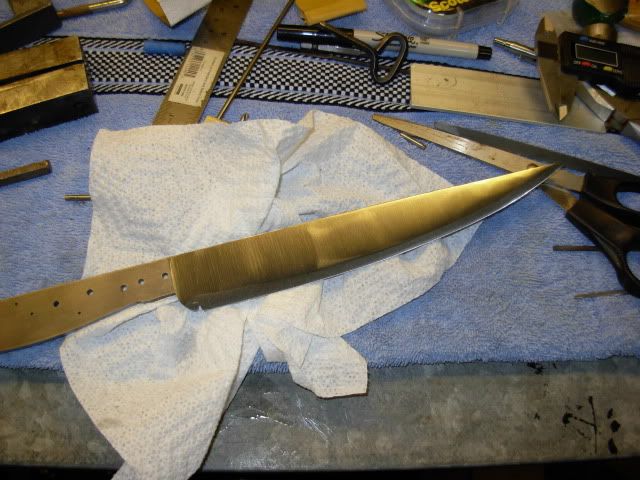
Today we'll be taking a gander at and discussing the grinding of a full height flat grind and a convex edge.
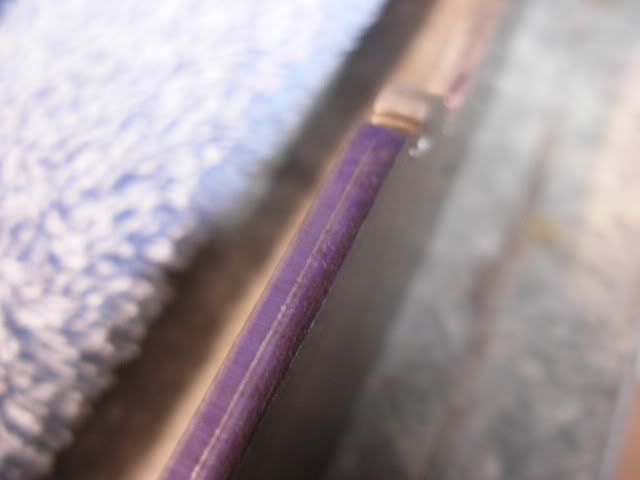
The first step in the process is covering the "edge" of our blade blank with Dykem layout fluid. The purpose of this is to give us a high contrast backround to layout the edge of the blade. The Dykem seems to hold up to the heat produced while grinding and repeated dunking in water and wiping clean much better than a permanent marker which is often used for this purpose.
Once the layout fluid is dry we use our digital calipers to measure the thickness of the blank then divide by two and scribe where the actual edge of the blade will end up in the center of the blade
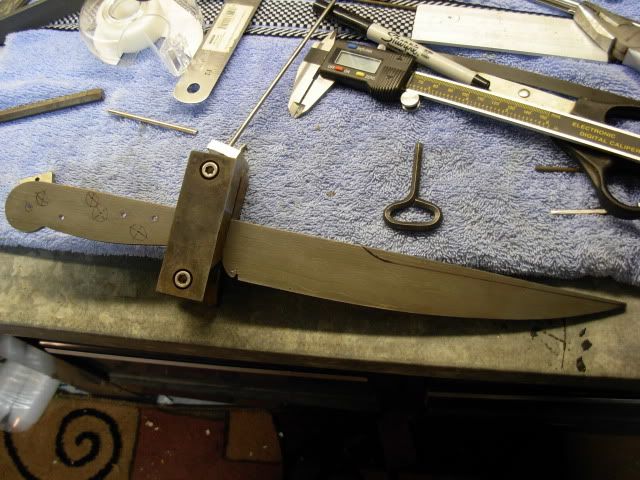
Now I put one bolster on with both pins in place and make a pencil mark on the leading edge of the bolster. In keeping with the Belduque style blade I want my plunge line to run right up the bolster face almost giving the appearance of no plunge at all when the blade is completed. Now I clamped my file guide onto the blade lined up with my pencil mark to insure that I don't grind too far towards the rear of the knife. That mistake is very easy to do and if it happens the only solution is to make the bolsters skinnier.
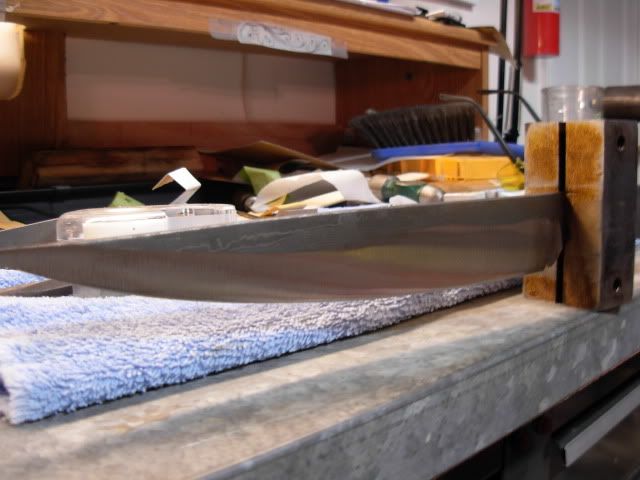
Now we're ready to begin grinding the actual bevels of the blade. Here's a shot of the lead in grind. There are several benefits to the lead in. The main benifit is that putting your blade against the belt with a 90 degree corner on the blade edge will shear the grains right off the belt seriously reducing the usable life of the belt. I grind my lead in at around 30 or so degrees because it gives just a little wider "flat" to go back to on the next pass. The other benefit of the lead in grind is that your thinning the edge of the blade down to .040 or there abouts which reduces the risk of getting the edge off center later in the grinding process.
In the next shot you'll see how we "walk" our grinds up the blade towards the spine. It's VERY important to keep thing as EVEN as possible from the left to right side while grinding. This means we grind up an 1/8 or so on one side then flip and even things up. In one word here's why we do this- WARP.
Say for example you were to grind the left bevel all the way to the spine before touching the right side. What will happen is this- As your grinding and heating up the left side of the blade the steel will warp towards the heat. So when your done with that side you'll have a good flat bevel on the left but because of the warp you won't be able to get the right side flat and you'll end up with an edge that will seriously hook off to the right because of the warp that happens while grinding the second side. this is another thing thats kinda difficult to put into words but the bottom line is to grind as evenly as possible

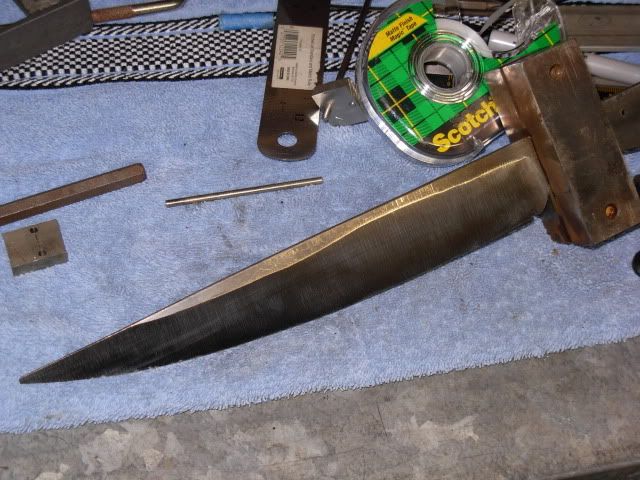
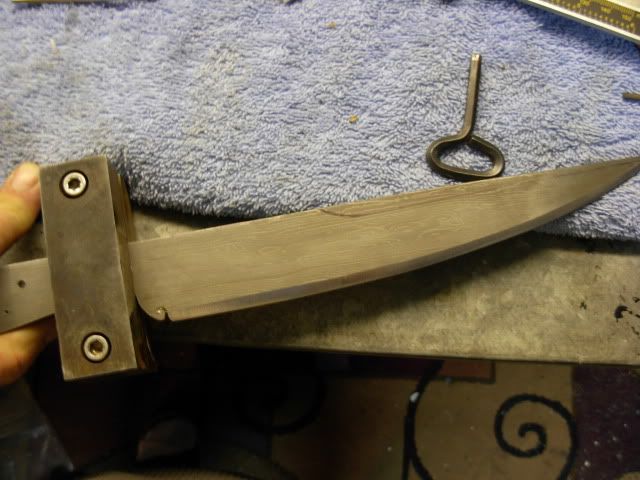
All the grinding thus far has been done with a 40 grit belt. So far we've seen the "Hogging" stage of the grinding. What happens with a rough belt is that you'll have a uniform looking surface but in fact there will be very deep errant scratches under the surface that will reveal themselves as you begin to refine the surface. You'll notice the waves and ridges in the grind at this point. While hogging we're only giving a half hearted effort at a smooth grind. We'll really begin to fix up our grinds after switching to an 80 grit. We'll also use this belt to push our bevels right up to the brink of the spine. We do NOT want to grind into the spine !!
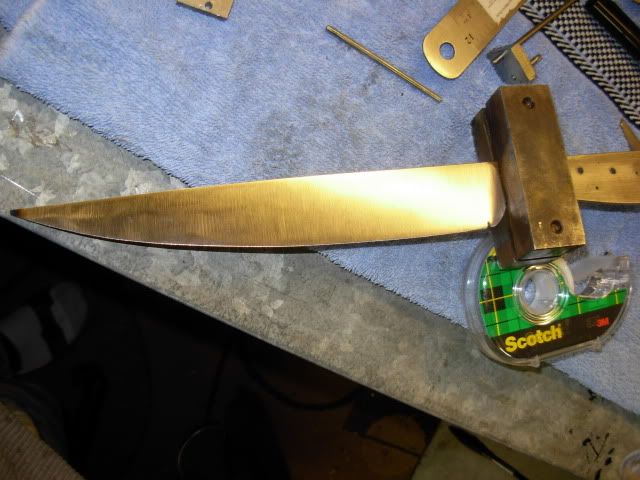
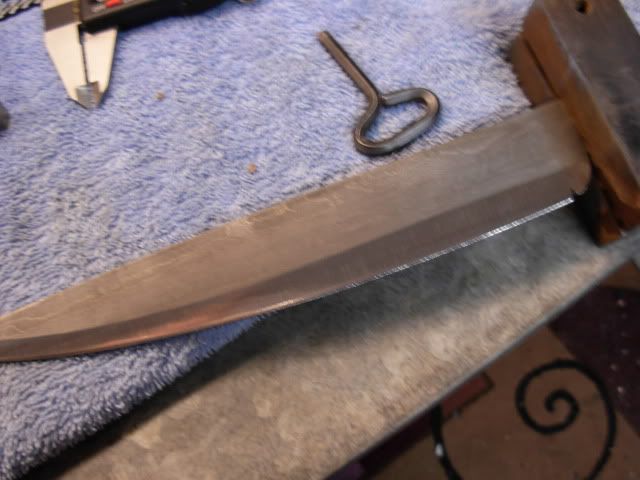
From here we'll now go to a 220 grit. At 220 we don't want to be doing a bunch of grinding. At this point we are refinding the surface and making very minor adjustments to our grind lines. I'm also adding a "convex" edge at this point down to around .020 which is about as thin as I'll go before heat treating the blade.
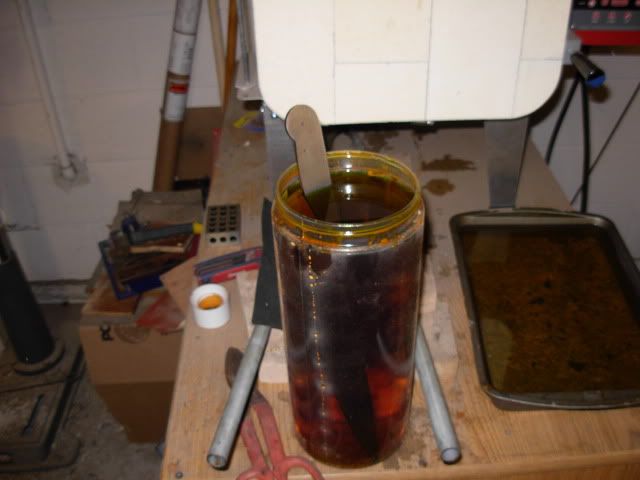
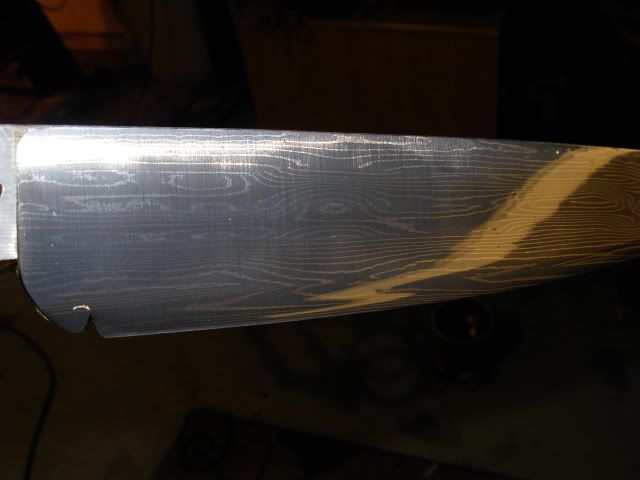
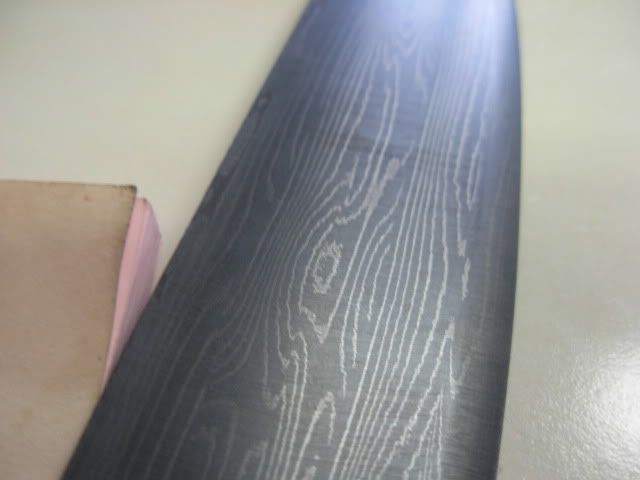
At this stage we're gonna give this blade a light etch and have a look at what the damascus pattern looks like now that we're getting close to final dimentions on the bevels.
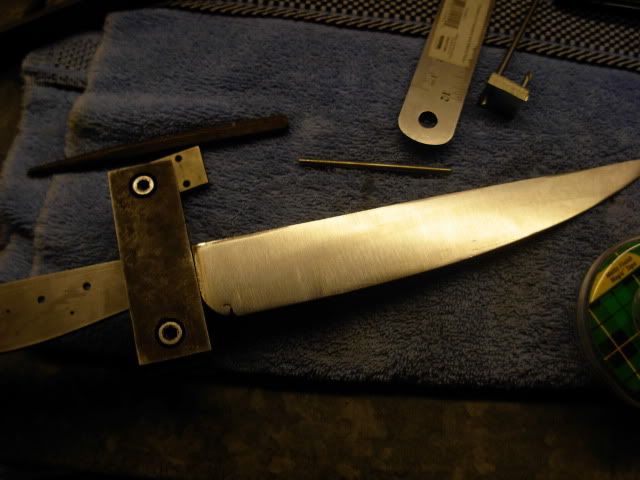
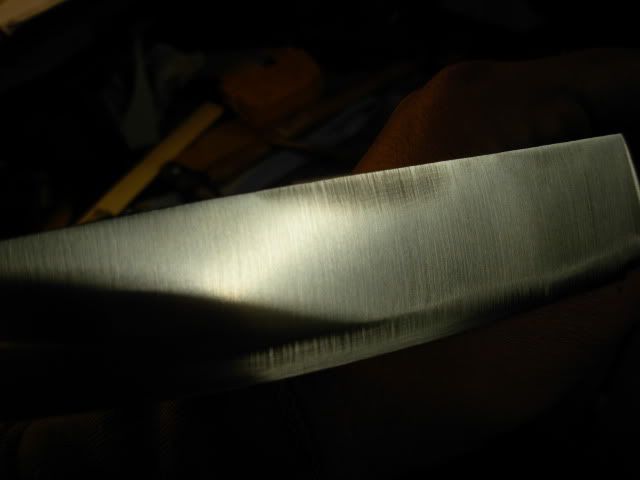
Now for a flat grind we could go to a 400 grit belt and refine the blade further at this point but comming off the belt grinder can be very decieving as to the actual quality of the flat. So we are going to go to the JUDGE ! The un-flinching, un-wavering, brutally honest and cruel measurer of the flat grind.... The disk sander. I started out with some 320 grit paper on the disk and refined the bevels to see what I've "actually" got, not what it "looks like" I've got. Lo and behold, A low spot on the spine quicly reveals itself.
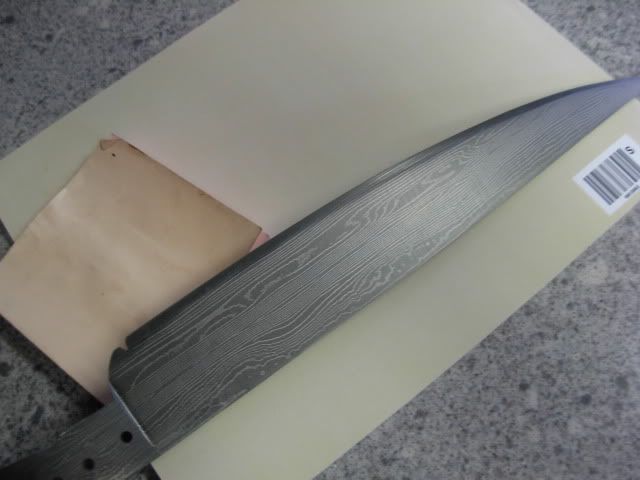
With this unfortunate but almost inevitable discovery we go right back to 120 grit on the disk to get a TRUE flat. And we finish up with another quick etch to see the pattern again.
Thats where we're leaving off for today folks.
Don't be shy now Pards. Please ask any question you have, Josh


 Home
Home Posts
Posts Recent Posts
 Help
Help Business Directory
 Calendar
 Advertising Rates
 Contact Us
 Login
Login Register
