Well Pards it's a sad day in the life and death of the Belduque.

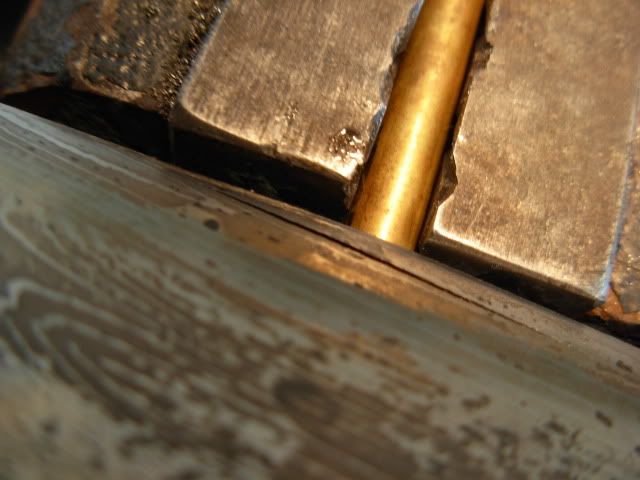
Unfortuantely a nasty delamination was hidden in the damascus which can and sometimes does happen. This also means that this project just came to a screeching halt while I contact the fella who made the damascus and try to get a replacement billet to start over with

Either way we we will continue this WIP as soon as replacement damascus can be had.
Here are the pics that lead up to this grizzly discovery
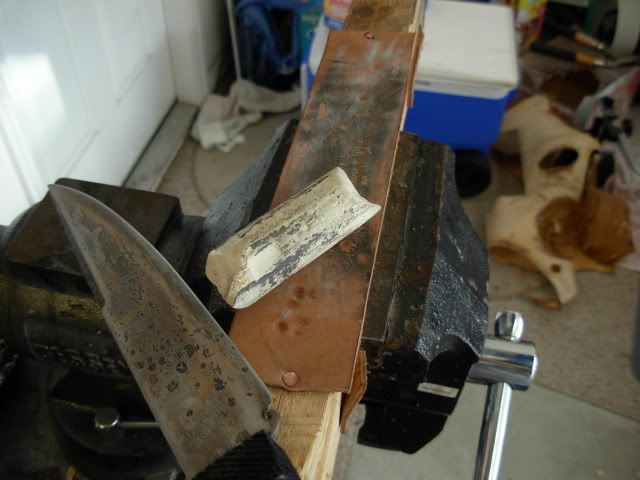
Here is shot of the tools I use to sharpen a knife. Of course I did begin by removing the bulk of meat from the edge on the belt grinder and a slack belt. I always like to sharpen on stones because I feel the vast majority of folks out there dont have belt grinders or other fancy equipment to re-sharpen on. This way the knife is delivered to the customer with an edge that's set-up for resharpening on a stone. Although I've been using these Lansky stones for years I never use the silly jig that comes with the kit. For me the kit is just a way to get a variety of stones for a resonable price and I choose to sharpen by hand the good ole' fashoined way. It does take some practice but very good results can be had. You'll also notice that I have a temporary handle attatched to the knife to give a good grip for some hard testing. This temp is two pieces of a grout float I cut for this purpose attatched with our trusty electrical tape


After sharpening to an edge on the medium stone and honing the edge to a burr on the fine stone I use this simple set-up to strop the burr off leaving us with a hair shavin sharp knife over the entire length of the edge. The strop is just a piece of leather strap tacked to the edge of a 2x4 that gets "loaded up" with white jewelers rogue.
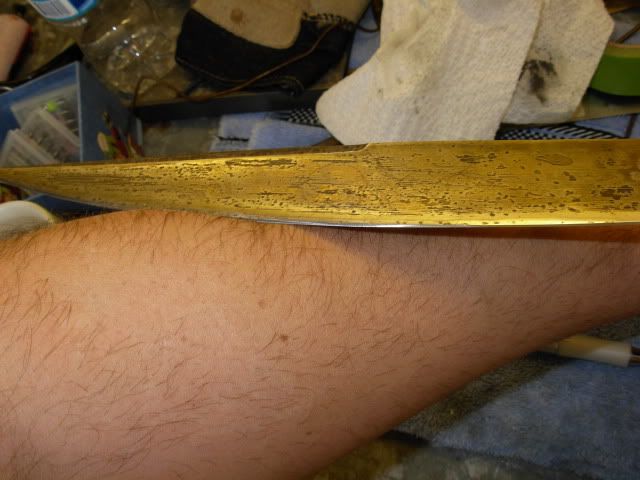
This'n here is pretty self explainitory but it does show a good view of the straw color we achieved with our tempering cycles.
Now the actual testing of the blade is about to begin. I start off with the "brass rod test" . After sharpening we clamp the brass in the vise and push the edge against the rod util we see it deflect over the rod. Maintaining the downward pressure that causes the deflection we'll draw the blade over the rod for the entire length of the edge. This test is perforemed to check the temper and be certain the edge is hardened. Too low of a temper and the edge will be brittle and chip out. Too high of a temper or a blade thats not fully hardened and the edge will deform and stay deformed instead of springing back to shape after the deflecting pressure is removed from the edge.
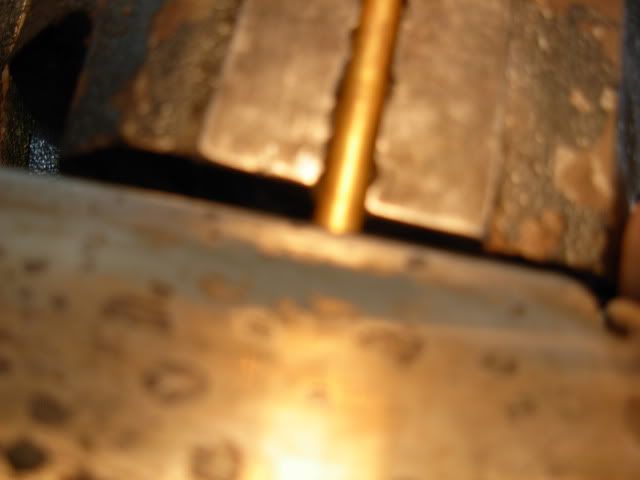
It's at this point that the delaminated weld revealed it's ungly head
This does suck ! But it does prove the benefit of testing your blades prior to finishing them up. This would have been MUCH MUCH more tragic had I just finished up the blade, handle, silver wire, and sheath and assumed everything was ok.
Thanks again for follerin along Pards. We will get back on track and continue on ASAP
-Josh


 Home
Home Posts
Posts Recent Posts
 Help
Help Business Directory
 Calendar
 Advertising Rates
 Contact Us
 Login
Login Register
