Mornin Pards,
Work time got shortened a bit last night on account of a phone call from an ole' Pard o' mine from Ohio

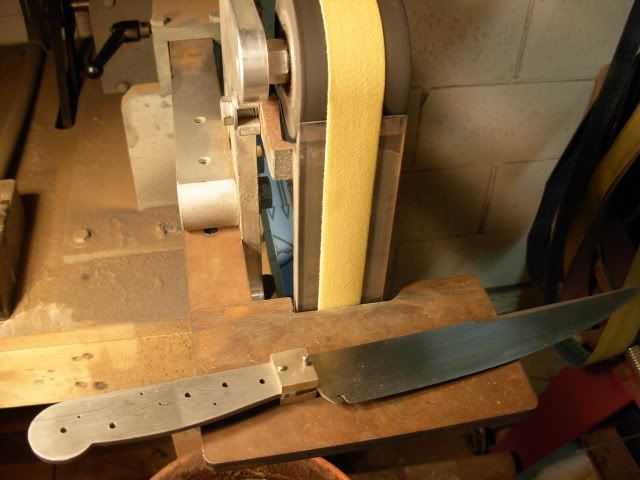
Did still manage to make a bit of progress in working towards HT-ing this here Belduque

I started off with a bit of final fine tuning to the hand finish and continued on to layout the area on the blade that'll be the clip.
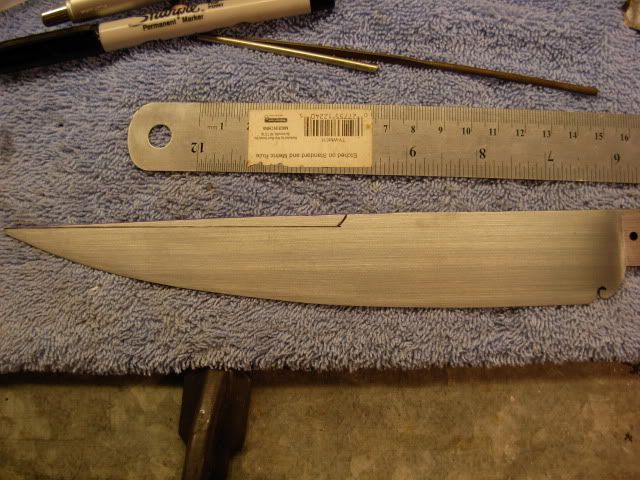
Now, Due to the face that I did NOT layout and scribe a centerline for the edge of the clip prior to grinding the bevels of the blade I now don't have the option of setting the calipers to center and scribing due the fact that the top edge of the spine is tapered over the lenght of the clip.
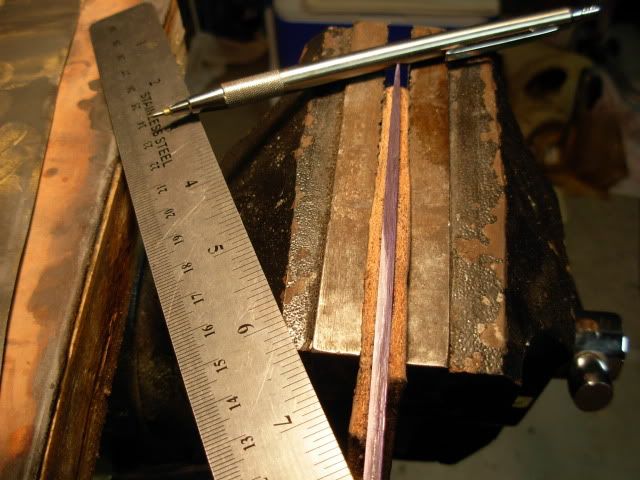
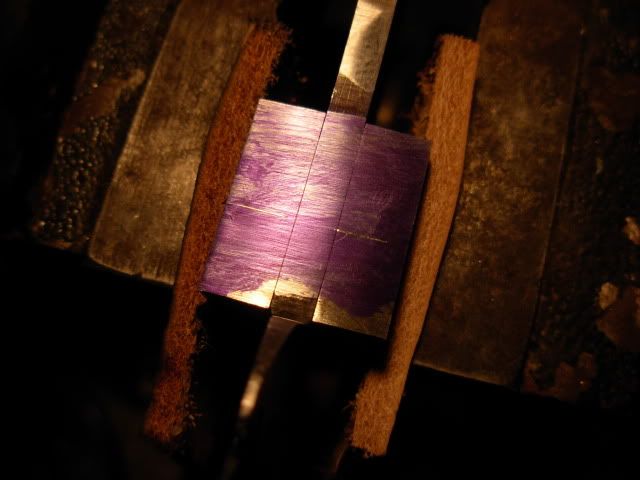
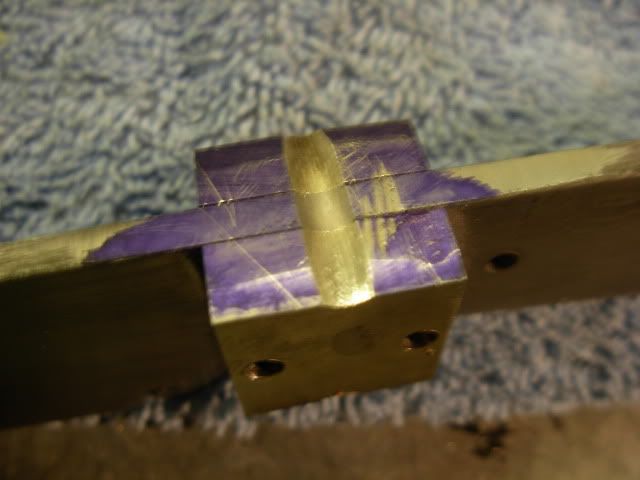
To overcome the taper and get a true centerline I coated the spine with layout fluid and scribed a short centerline on both ends of the clip. Then I clamped her up in the bench vise (padded with leather of course!) and used a straight edge and carbide scribe to mark the centerline.
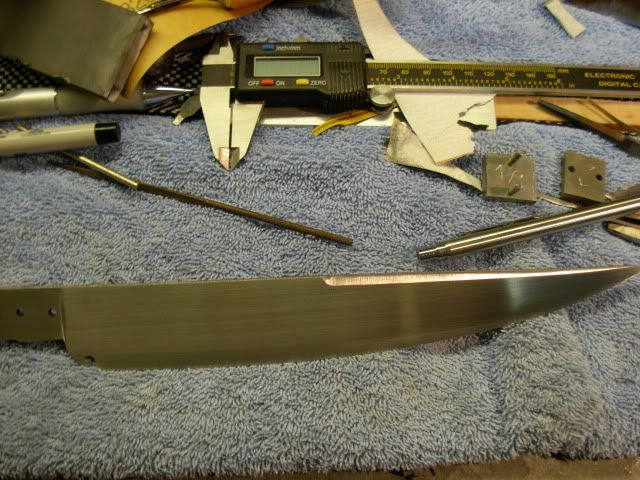
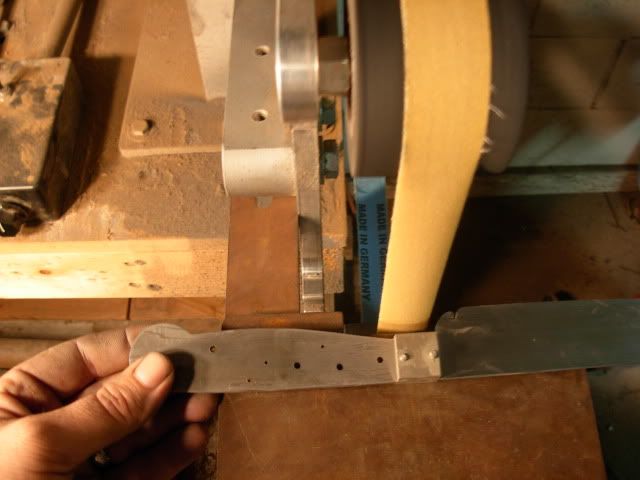
Now we can move on to actually grinding in the clip. With a fase clip (swedge) I'll grind it in after HT to try and keep warp to a minimum during the HT process. Although this steel is mostly made of 5160 which is a deep hardening steel so it shouldn't be a problem but I'm gonna grind some of the bulk out of the clip area just to ensure that this area gets fully hardened during the quench. For the clip to hold an edge it MUST be fully hardened.
The thinner the steel the faster it'll cool during the quench ! The faster it cools the higher the likeyhood of getting a full martensite conversion with the quench (or in laymans terms... Hardened). This is an overly simplified statement as there are MANY factors that come into play but without getting too involved in technical metallurgical speak this gives you an idea of why I'm setting the blade up for HT the way that I am

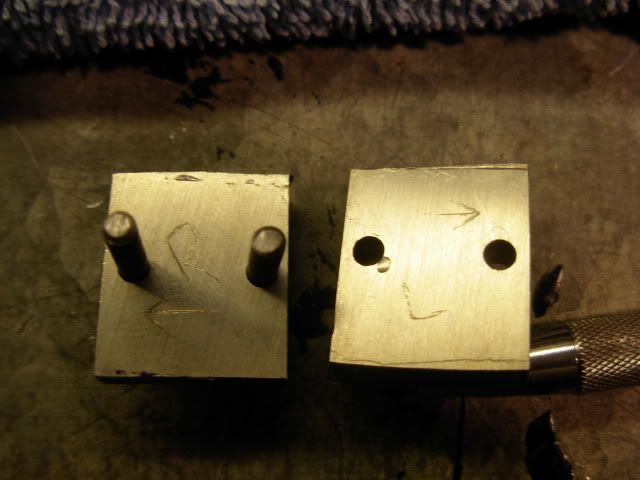
This next shot just shows how I used my trusty scribe to mark the inside face of the bolsters with the side of blade it goes on and a directional arrow pointing towards the tip of the blade to ensure proper re-allignment on future operations, which is now.
Now using my pins to allign the bolsters I superglued them back on to keep them alligned while shaping to the tang of the knife. Here you can see that I'm using a 1" wide belt to grind the bolster top and bottom flush with the tang. This is a 220 grit belt that will remove material slow and easy. At this point creating a big gouge in the tang would be a call to whack may head off the corner of the workbench, LOL, so SLOW & EASY is the order of the day here ! The further along you get with a knife the more disasterous to the final outcome a mistake will be.
In the last shot you can see the flat platen on the grinder that supports the belt. The platen is covered in ceamic glass to reduce friction with the belt and get a true flat. The glass is also MUCH more resistant to wear than a typical mild steel platen face which will quickly wear enough that it becomes impossible to get a true flat. The platen is great but to profile the bottom of the bolsters it just won't allow us to get into that area so here you'll see that I took it off and profiled the bottom with the slack belt.
Now we've got our bolsters flush with the tang on top and bottom we need to layout the groove that'll be filed around the center of the bolsters. We're only concerned with the top and bottom at this point to get the grooves into the tang of the blade before HT-ing. These bolsters are made from 3/4" wide German Silver barstock wich I verified with my calipers by measuring them at .7495 . Moving on I again coated the top and bottom with layout fluid and set my caliper to .375 to scribe the centerline off the face of the bolsters.
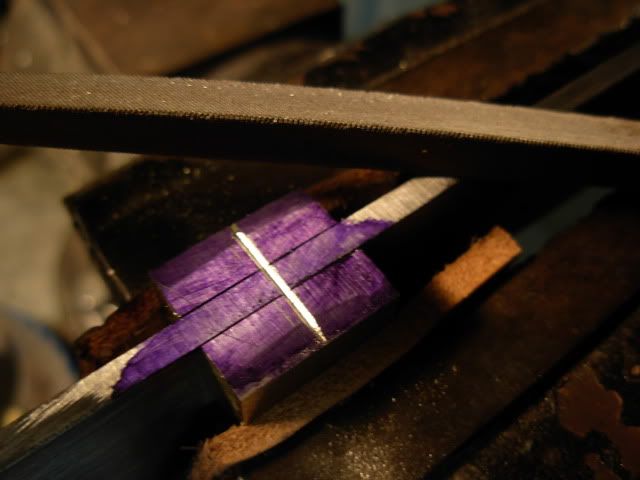
Here's a little trick I'll use often when doing filework. To begin I'll use a triangle shaped file to get a precision cut right where I want it. The pupose of this is to make a small groove that will guide the round file and avoid accidentally cutting off to one side or the other when begining the cut with the round file. In this pic you can see a scribed line to the left of the file cut. This is here because I initially set my caliper to .325 by ACCIDENT. A quick eyeball of the scribed line told me that it was NOT in the center of the bolster (which you can see in the previous pic). Precision tools are GREAT. But do NOT discount the power of the eyeball !!!!! It's kinda like ole' Ronnie Reagan used to say... "trust but verify"
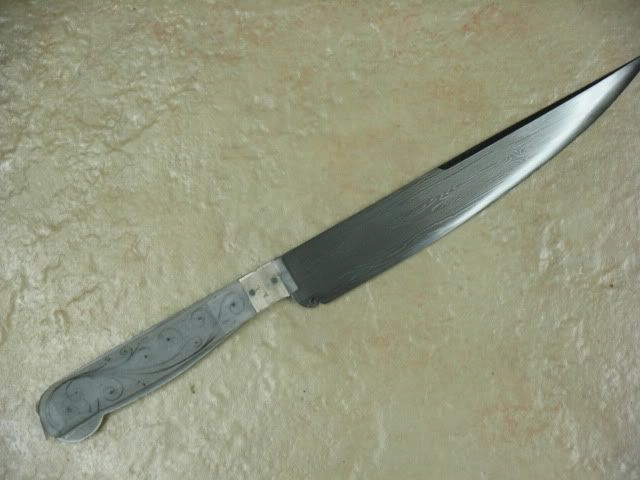
Here's what we're lookin fer with the filework proior to HT and shaping the bolsters.
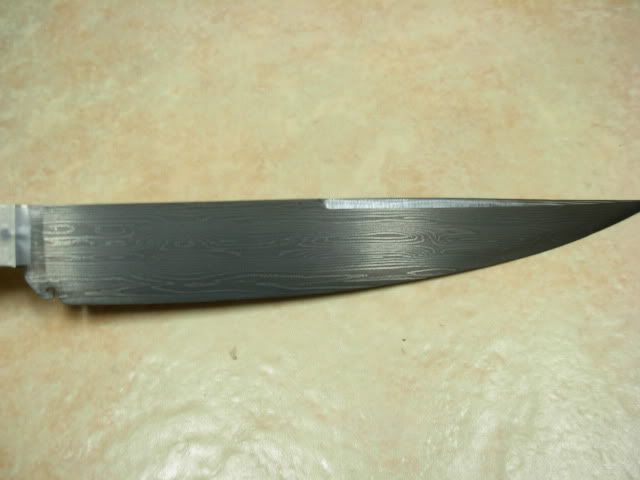
Again I gave a quick etch to reveal the damascus pattern so now we can really begin to get feel for how the Belduque is gonna look when finished
This brings us to the end of another day Pards.
Thanks alot fer followin along with Belduque
Josh


 Home
Home Posts
Posts Recent Posts
 Help
Help Business Directory
 Calendar
 Advertising Rates
 Contact Us
 Login
Login Register
